My experience hosting a public WordPress site on a Raspberry Pi
It’s great fun, can save you money, and you learn A LOT along the way!
Getting started
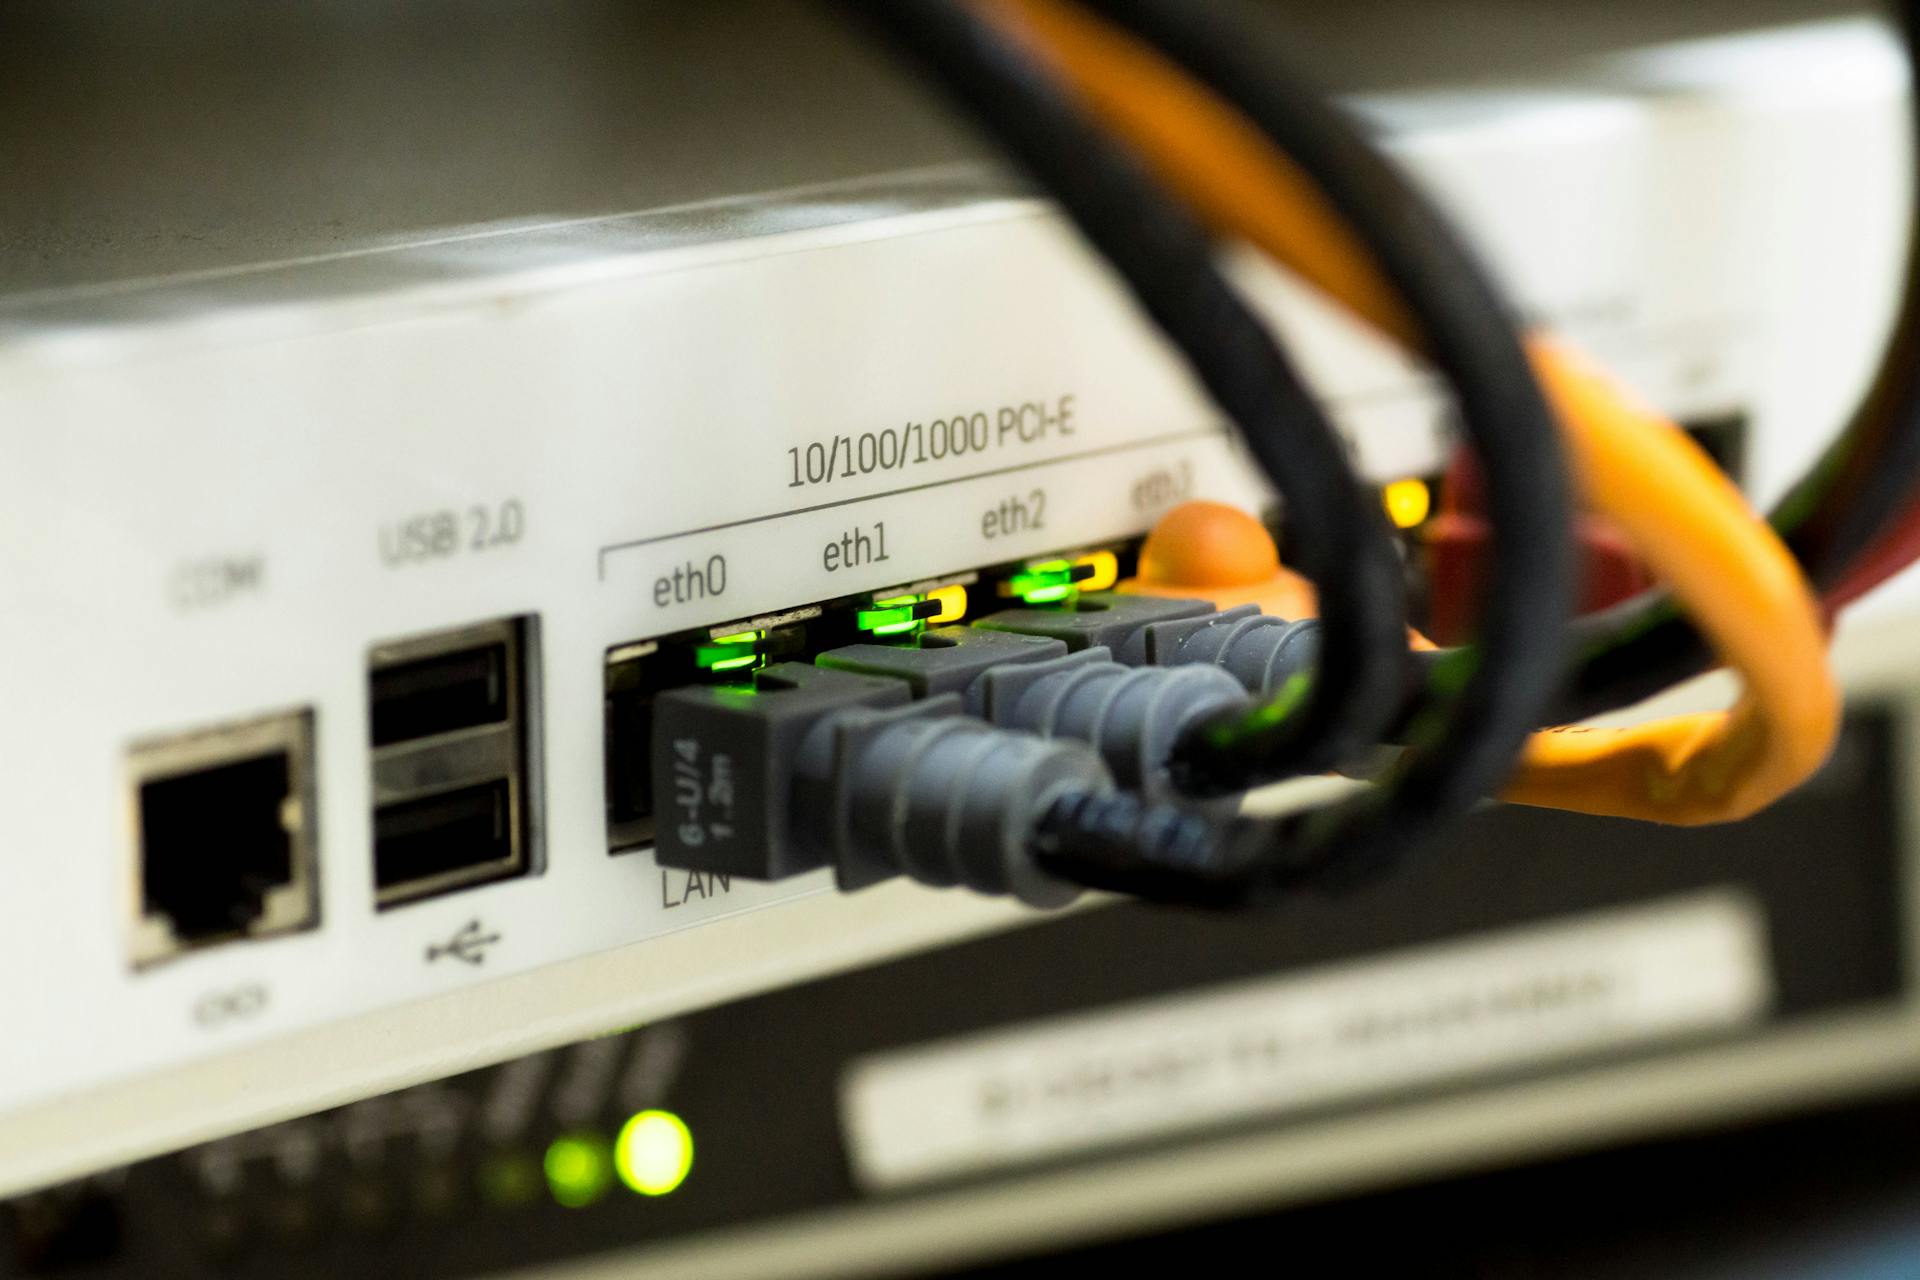
To get started, you will need to install WordPress on the Raspberry Pi, made extremely simple via terminal. You simply need to download it and extract it to the /var/www/html directory on the Pi. This will include configuring and preparing Apache to act as the web server and creating the WordPress database. I highly recommend this guide on PiMyLifeUp for this process. For performance reasons, a Raspberry Pi 4 or above is recommended.

How do I actually get my site online?
Great! So you now have a local WordPress installation on your Raspberry Pi, but you may be asking how you can actually get your site online. For this process, I opted for Cloudflare Tunnel. To put it simply, this allows you to serve traffic to your website through Cloudflare, creating only outbound requests from the Pi to Cloudflare’s network, saving a lot of security headaches and risks that can come with exposing your Pi directly to the internet. The best part is, they have a free tier which provides more than enough services for a hobbyist like myself. Cloudflare offer official documentation to guide you through this process, making it quick and easy. There are also lots of other guides and resources on Youtube.
And there you have it!
Honestly, it is pretty simple, but once done it is pretty cool! From here you can build your WordPress site as usual, install plugins, and so on! From my experience with the Pi 5, it is more than capable of handling a small – medium sized site with a medium amount of traffic. In future posts I will cover how I monitor my Pi within WordPress itself, to ensure the site can remain running smoothly. Thank you for reading!